In the third part of this series, we will containerize our application using Docker.
Series Content :book:
Prerequisites
You will need to install:
- Docker; and
- Docker Compose
What we will cover in this post? :memo:
- Create a Dockerfile for our application
- Create Docker Compose files
- Update
.envandconfig.py - Create a
prestart.shfile to run migrations
Create a Dockerfile for our application
Our Dockerfile will contain the details of how docker should build our server image. This is where our FastAPI application will run.
Dockerfile
FROM tiangolo/uvicorn-gunicorn-fastapi:python3.8

WORKDIR /app/

# Install Poetry
RUN curl -sSL https://raw.githubusercontent.com/python-poetry/poetry/master/get-poetry.py | POETRY_HOME=/opt/poetry python && \
    cd /usr/local/bin && \
    ln -s /opt/poetry/bin/poetry && \
    poetry config virtualenvs.create false

# Copy poetry.lock* in case it doesn't exist in the repo
COPY ./pyproject.toml ./poetry.lock* /app/

# Allow installing dev dependencies to run tests
ARG INSTALL_DEV=false
RUN bash -c "if [ $INSTALL_DEV == 'true' ] ; then poetry install --no-root ; else poetry install --no-root --no-dev ; fi"

# For development, Jupyter remote kernel, Hydrogen
# Using inside the container:
# jupyter lab --ip=0.0.0.0 --allow-root --NotebookApp.custom_display_url=http://127.0.0.1:8888
ARG INSTALL_JUPYTER=false
RUN bash -c "if [ $INSTALL_JUPYTER == 'true' ] ; then pip install jupyterlab ; fi"

COPY . /app
ENV PYTHONPATH=/app
Info: The base image we using is one created by the author of FastAPI, Sebastián Ramírez. See the repository on GitHub here.
The comments in the Dockerfile provide an explanation into what happens when the image gets built. By including JupyterLab, this gives us the ability to spin up a notebook and experiment with ideas while having full access to our FastAPI application.
Since we copy the whole context of our project into the image, it's usually a good idea to create a .dockerignore file. This will prevent adding any unnecessary files to our image as well as sensitive information. This helps to reduce the size of the image and prevent potential security risks.
.dockerignore
.env
.env.*
.vscode
.idea
*.egg-info
.mypy-cache
.cache
.git
.gitignore
docker-compose.*
Dockerfile
*.md
Create Docker Compose files
We will use both a docker-compose.yml and docker-compose.override.yml file to orchestrate our services.
The services we will be running are PostgreSQL, pgAdmin (a graphical interface to administer PostgreSQL), and our FastAPI application server.
docker-compose.yml
version: "3.3"

services:
  db:
    image: postgres:12
    volumes:
      - db-data:/var/lib/postgresql/data/pgdata
    env_file:
      - .env
    environment:
      - PGDATA=/var/lib/postgresql/data/pgdata

  pgadmin:
    image: dpage/pgadmin4
    depends_on:
      - db
    env_file:
      - .env

  server:
    build:
      context: ./
      dockerfile: Dockerfile
      args:
        INSTALL_DEV: ${INSTALL_DEV-false}
    depends_on:
      - db
    env_file:
      - .env

volumes:
  db-data:
All our services declare the environment variables from reading the .env file. We need to make adjustments to this file, which we will do shortly. For PostgreSQL, we use the official image and for pgAdmin, we use the image created by dpage, listed on Docker Hub.
Info: You can find the details of the PostgreSQL image here and pgAdmin here
You'll notice we haven't exposed any ports for any of our services. Usually, in production our application would be served behind some sort of proxy, for example, nginx over https protocol. Yet while developing it would be nice to access our services locally. This is where we can make use of the docker-compose.override.yml file. Let's do so now.
docker-compose.override.yml
version: "3.3"

services:
  pgadmin:
    ports:
      - "8080:8080"

  server:
    ports:
      - "8888:8888"
      - "80:80"
    volumes:
      - ./:/app
    environment:
      - JUPYTER=jupyter lab --ip=0.0.0.0 --allow-root --NotebookApp.custom_display_url=http://127.0.0.1:8888
    build:
      context: ./
      dockerfile: Dockerfile
      args:
        INSTALL_DEV: ${INSTALL_DEV-true}
        INSTALL_JUPYTER: ${INSTALL_JUPYTER-true}
    command: /start-reload.sh
For pgAdmin it is pretty straightforward we exposing port 8080.
The server has a bit more going on though. First, we expose the ports 80 used to serve our API and 8888 used to access JupyterLab. Also by default, we install our development dependencies and JupyterLab. For our command, we tell our server that we want to reload after each file change. The changes in files are detected because we create a volume binding between our host machine and the container.
Info: The
start-reload.shfile is part of the base image. You can see the content of this file here.
Update .env and config.py
We will update our .env file to include more environment variables. It should look like this now.
.env
# PostgreSQL
POSTGRES_SERVER=db
POSTGRES_USER=postgres
POSTGRES_PASSWORD=password
POSTGRES_DB=app


# PgAdmin
PGADMIN_DEFAULT_EMAIL=admin@local.host
PGADMIN_DEFAULT_PASSWORD=password
PGADMIN_LISTEN_PORT=8080
We no longer need to read the .env file from our config.py file. Since the environment variables, are declared inside the running container. We will comment out line 33 in the config.py file.
app/config.py
...
    class Config:
        case_sensitive = True

        # If you want to read environment variables from a .env
        # file instead un-comment the below line and create the
        # .env file at the root of the project.

        # env_file = ".env"


settings = Settings()
Create prestart.sh file
By default, the base image we use for our server looks for a prestart.sh file. This is handy to run scripts before our application starts. We will use it to run our migrations on pre-start.
prestart.sh
#! /usr/bin/env bash

# Let the DB start
sleep 10;
# Run migrations
alembic upgrade head
Let's also give this file execution permissions.
chmod +x prestart.sh
Conclusion :bulb:
Finally, we can now spin up our service using docker-compose up -d. We now can access all our services locally like before.
docker-compose up -d
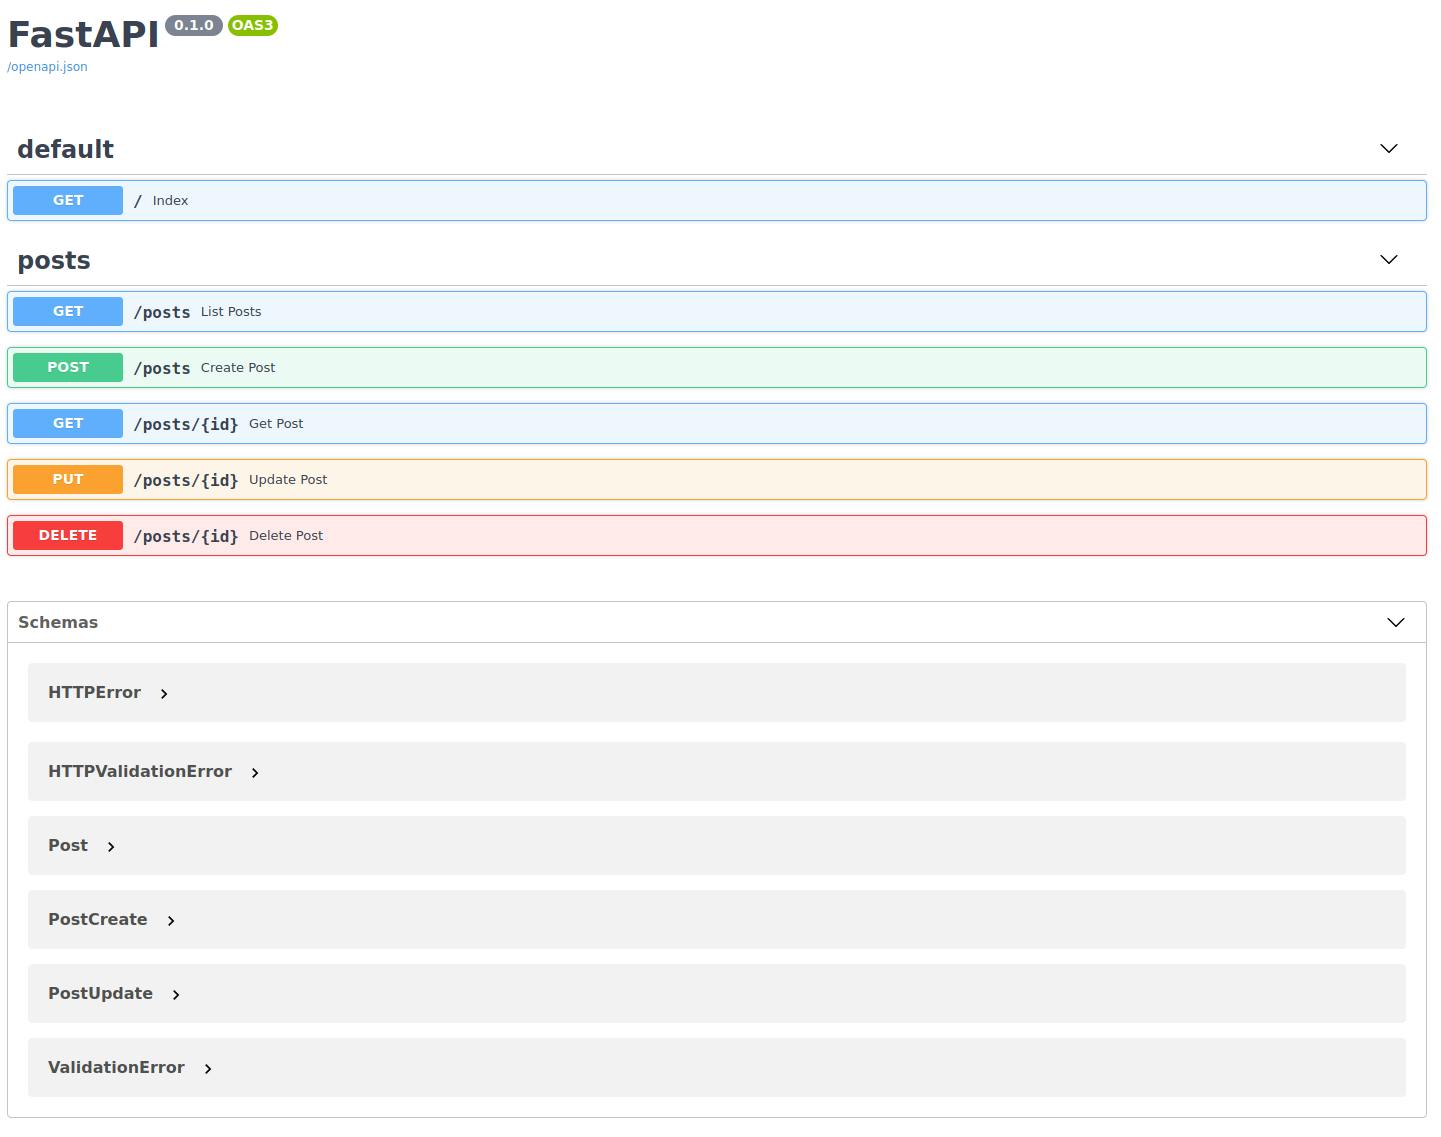
FastAPI Swagger UI

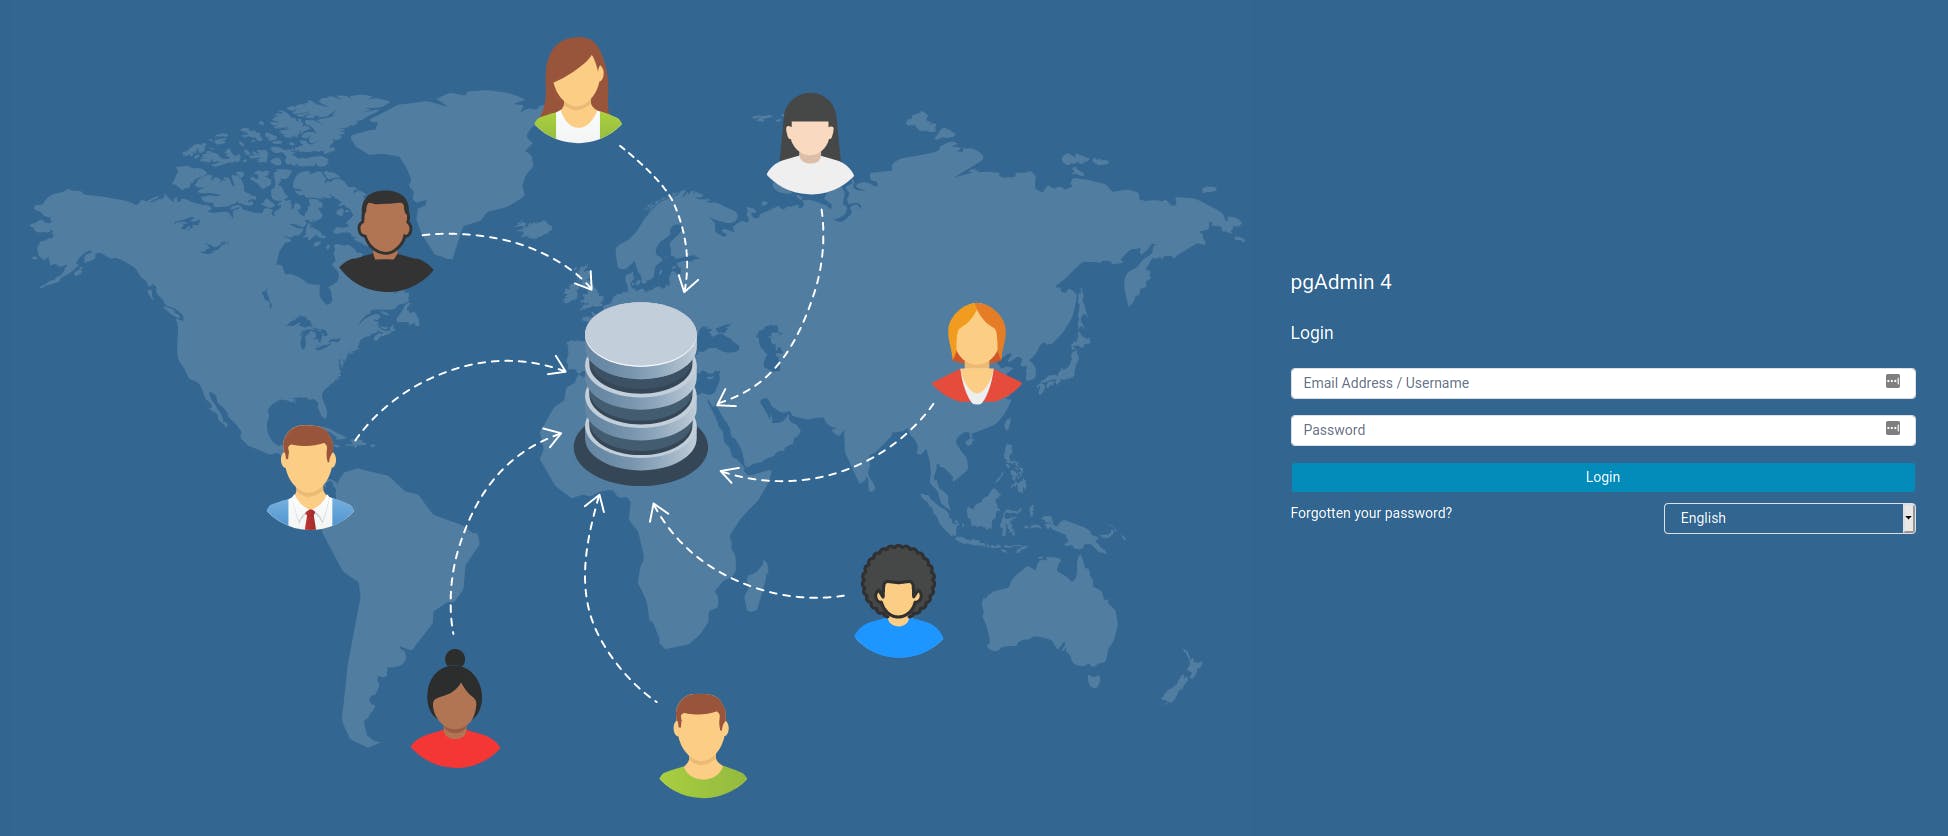
pgAdmin
- email: admin@local.host
- password: password

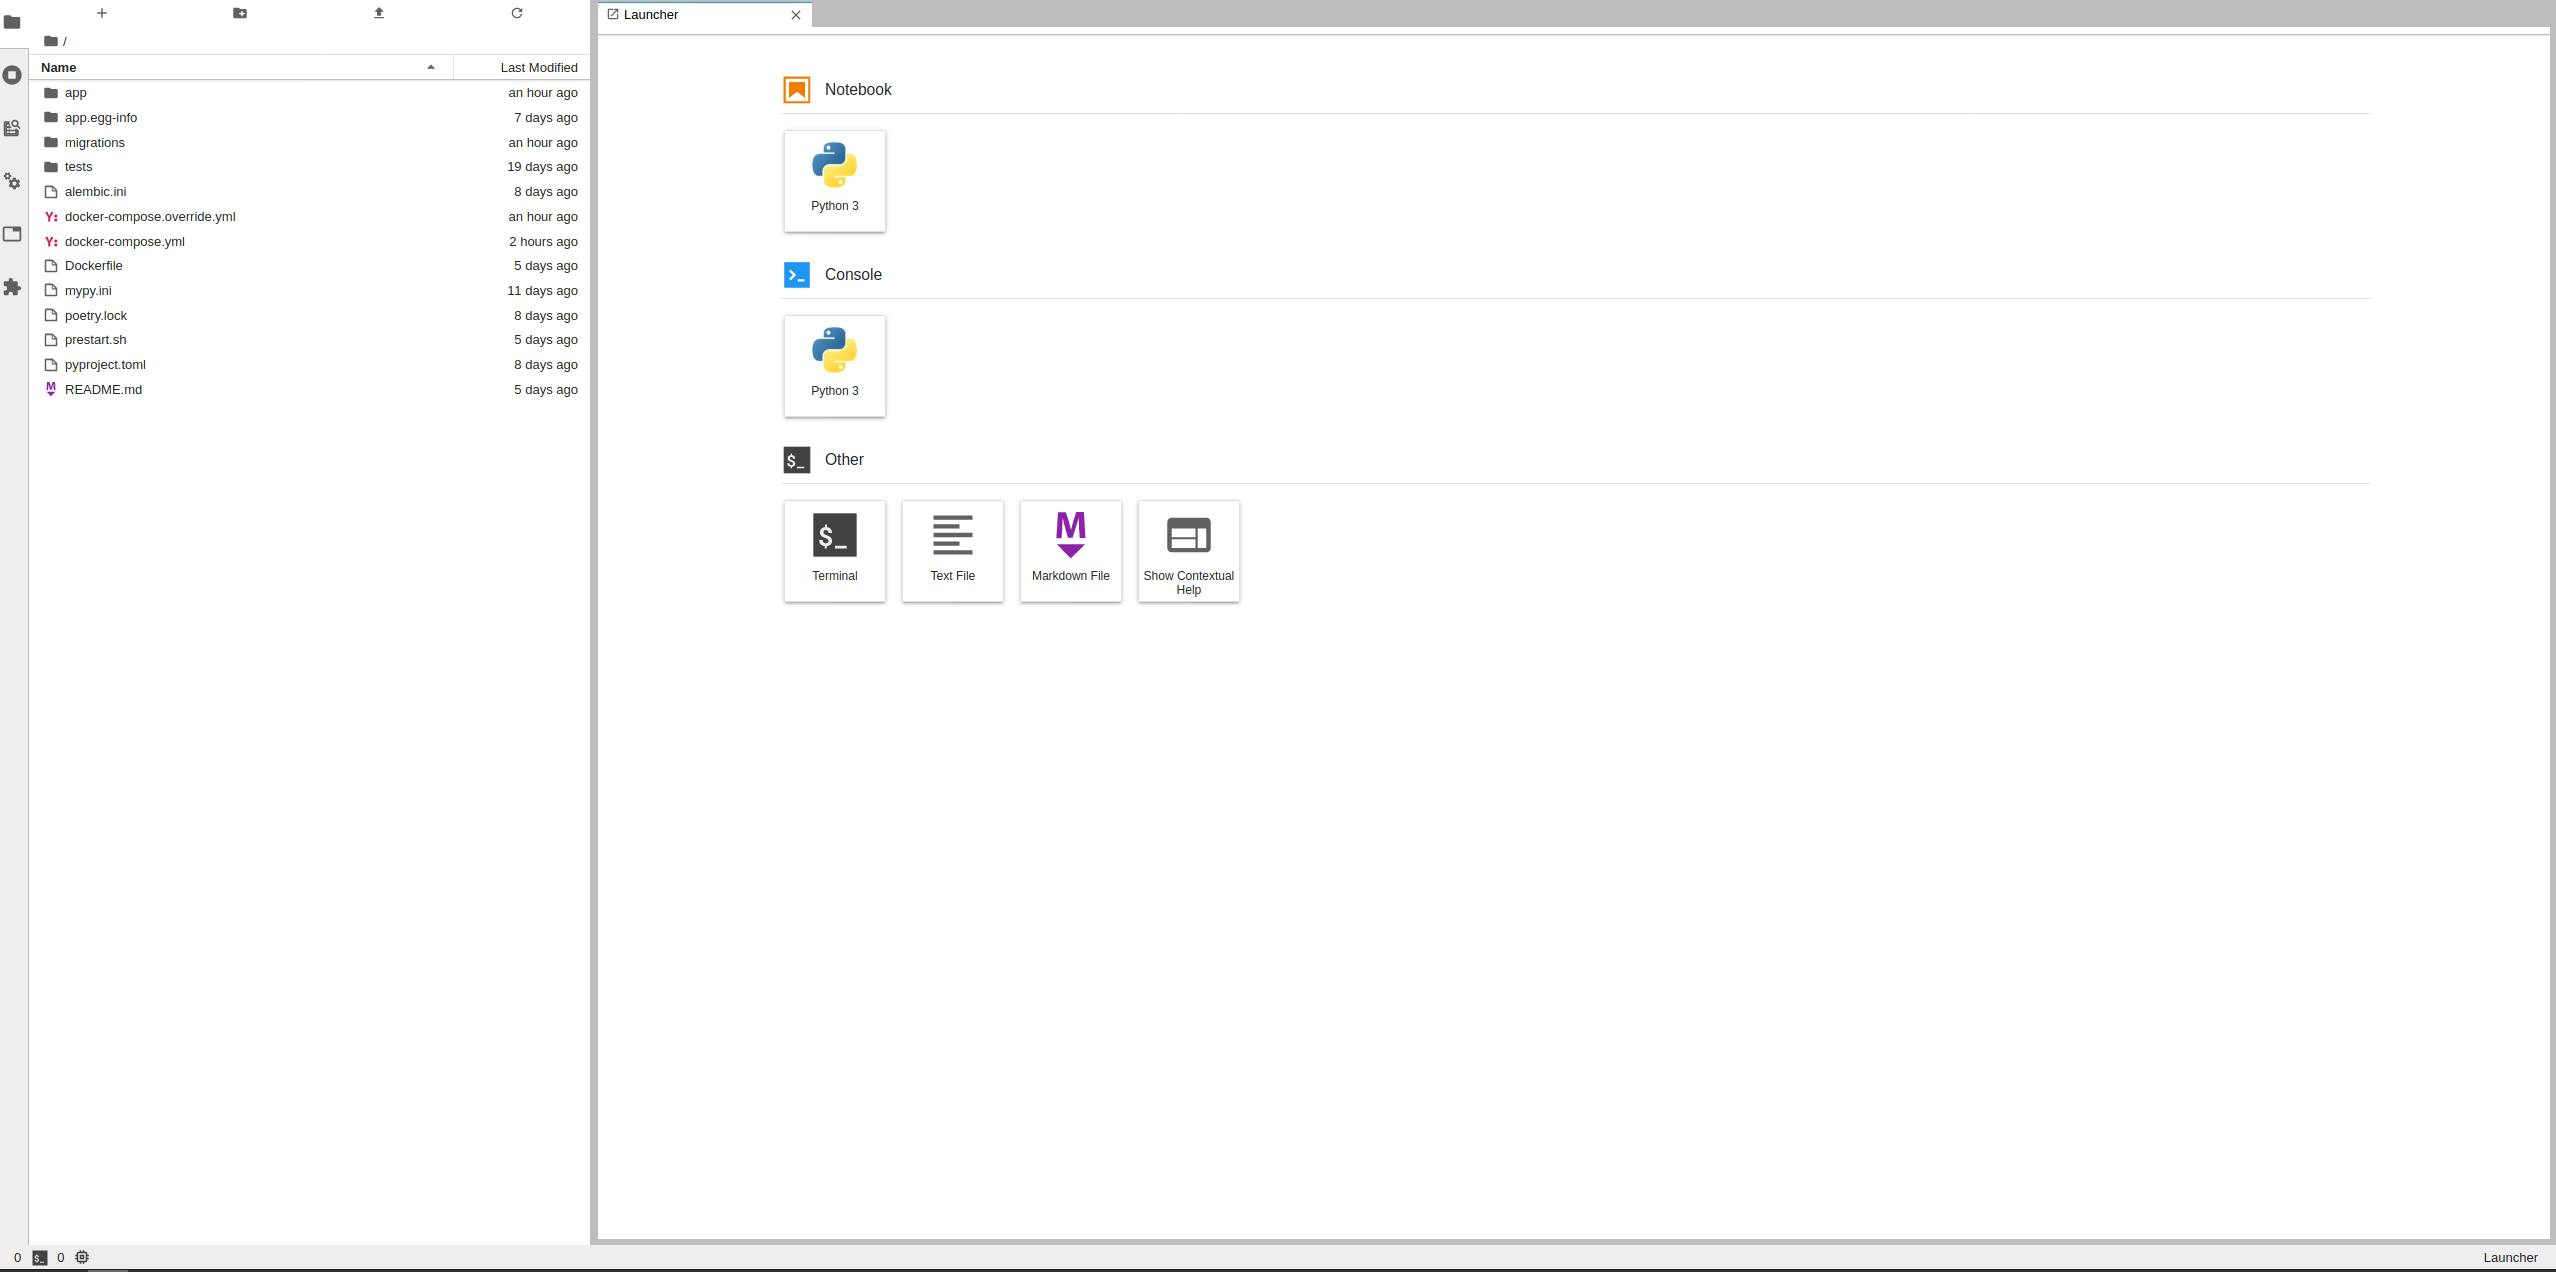
JupyterLab
Running JypyterLab requires spinning it up inside our server container. Like so.
docker-compose exec server bash

# Inside the container
root@a09f3c12bf5e:/app# $JUPYTER
This will print a link that should look something like this http://127.0.0.1:8888/?token=<token>

If you have been following since part one, congratulations on making this far! :trophy:
We now have an application that is fully containerized. :whale:
The final code for this post can be found on GitHub.
If you enjoyed reading this article and would like to stay tuned for more, or just want to connect, follow me on twitter @alexvanzyl.

